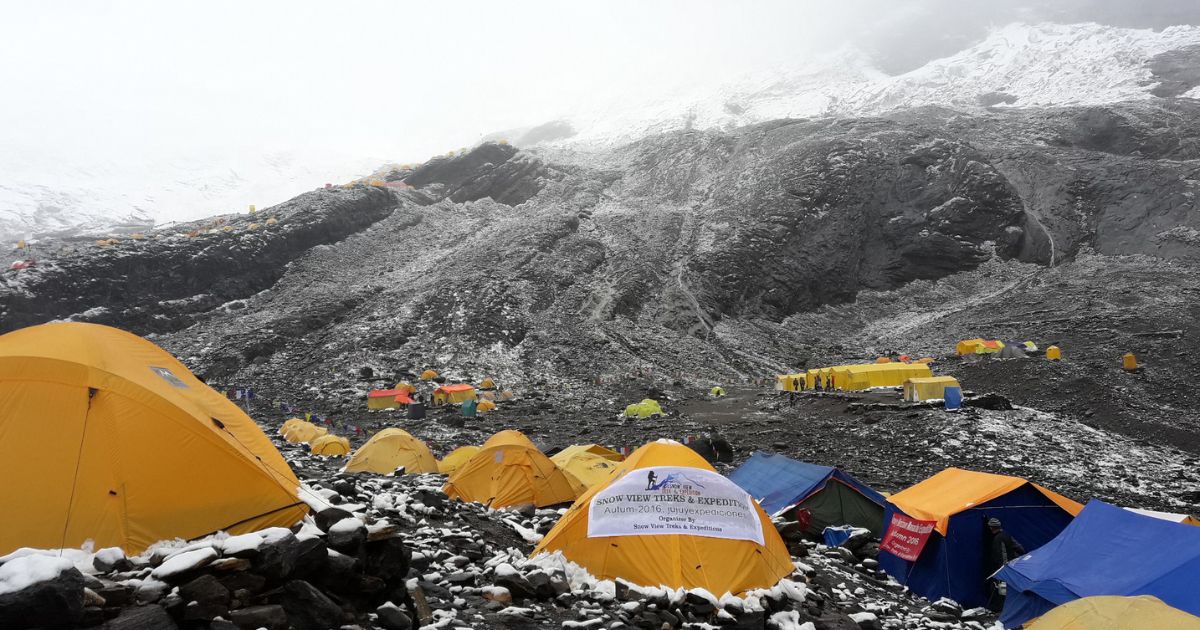
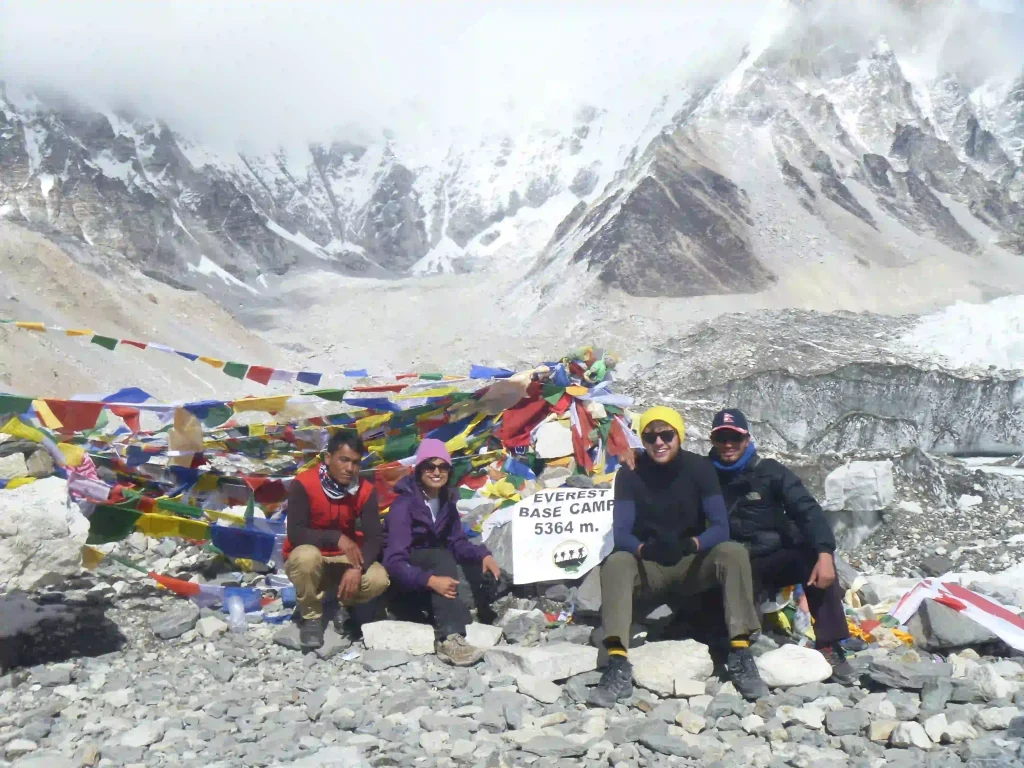
Base Camp (4,800m)
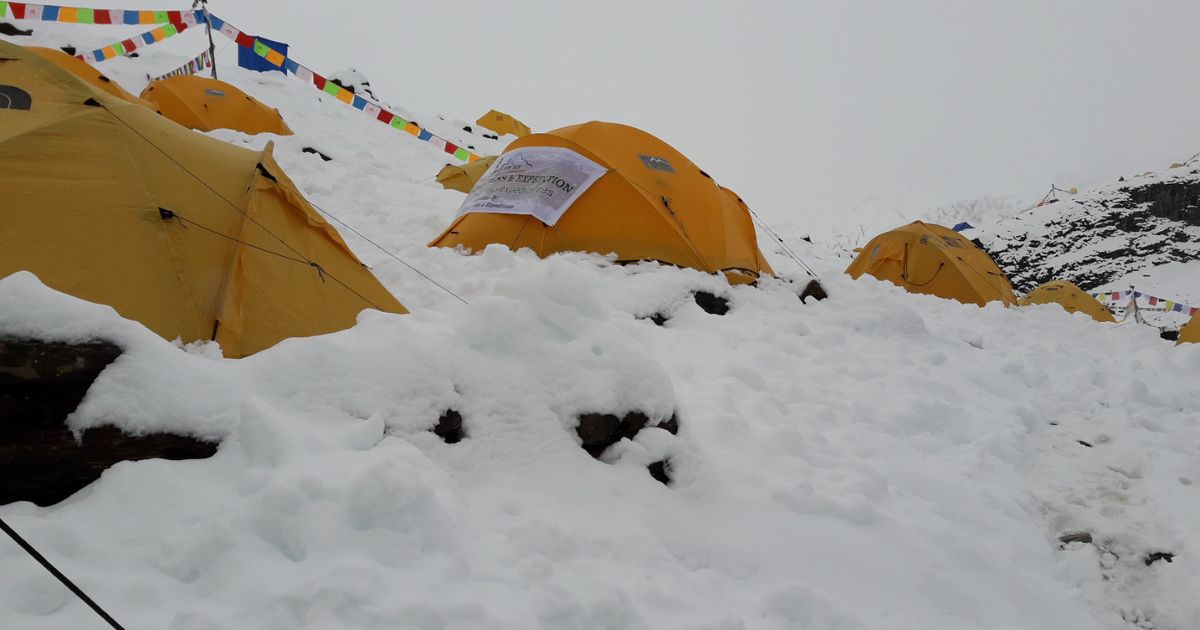
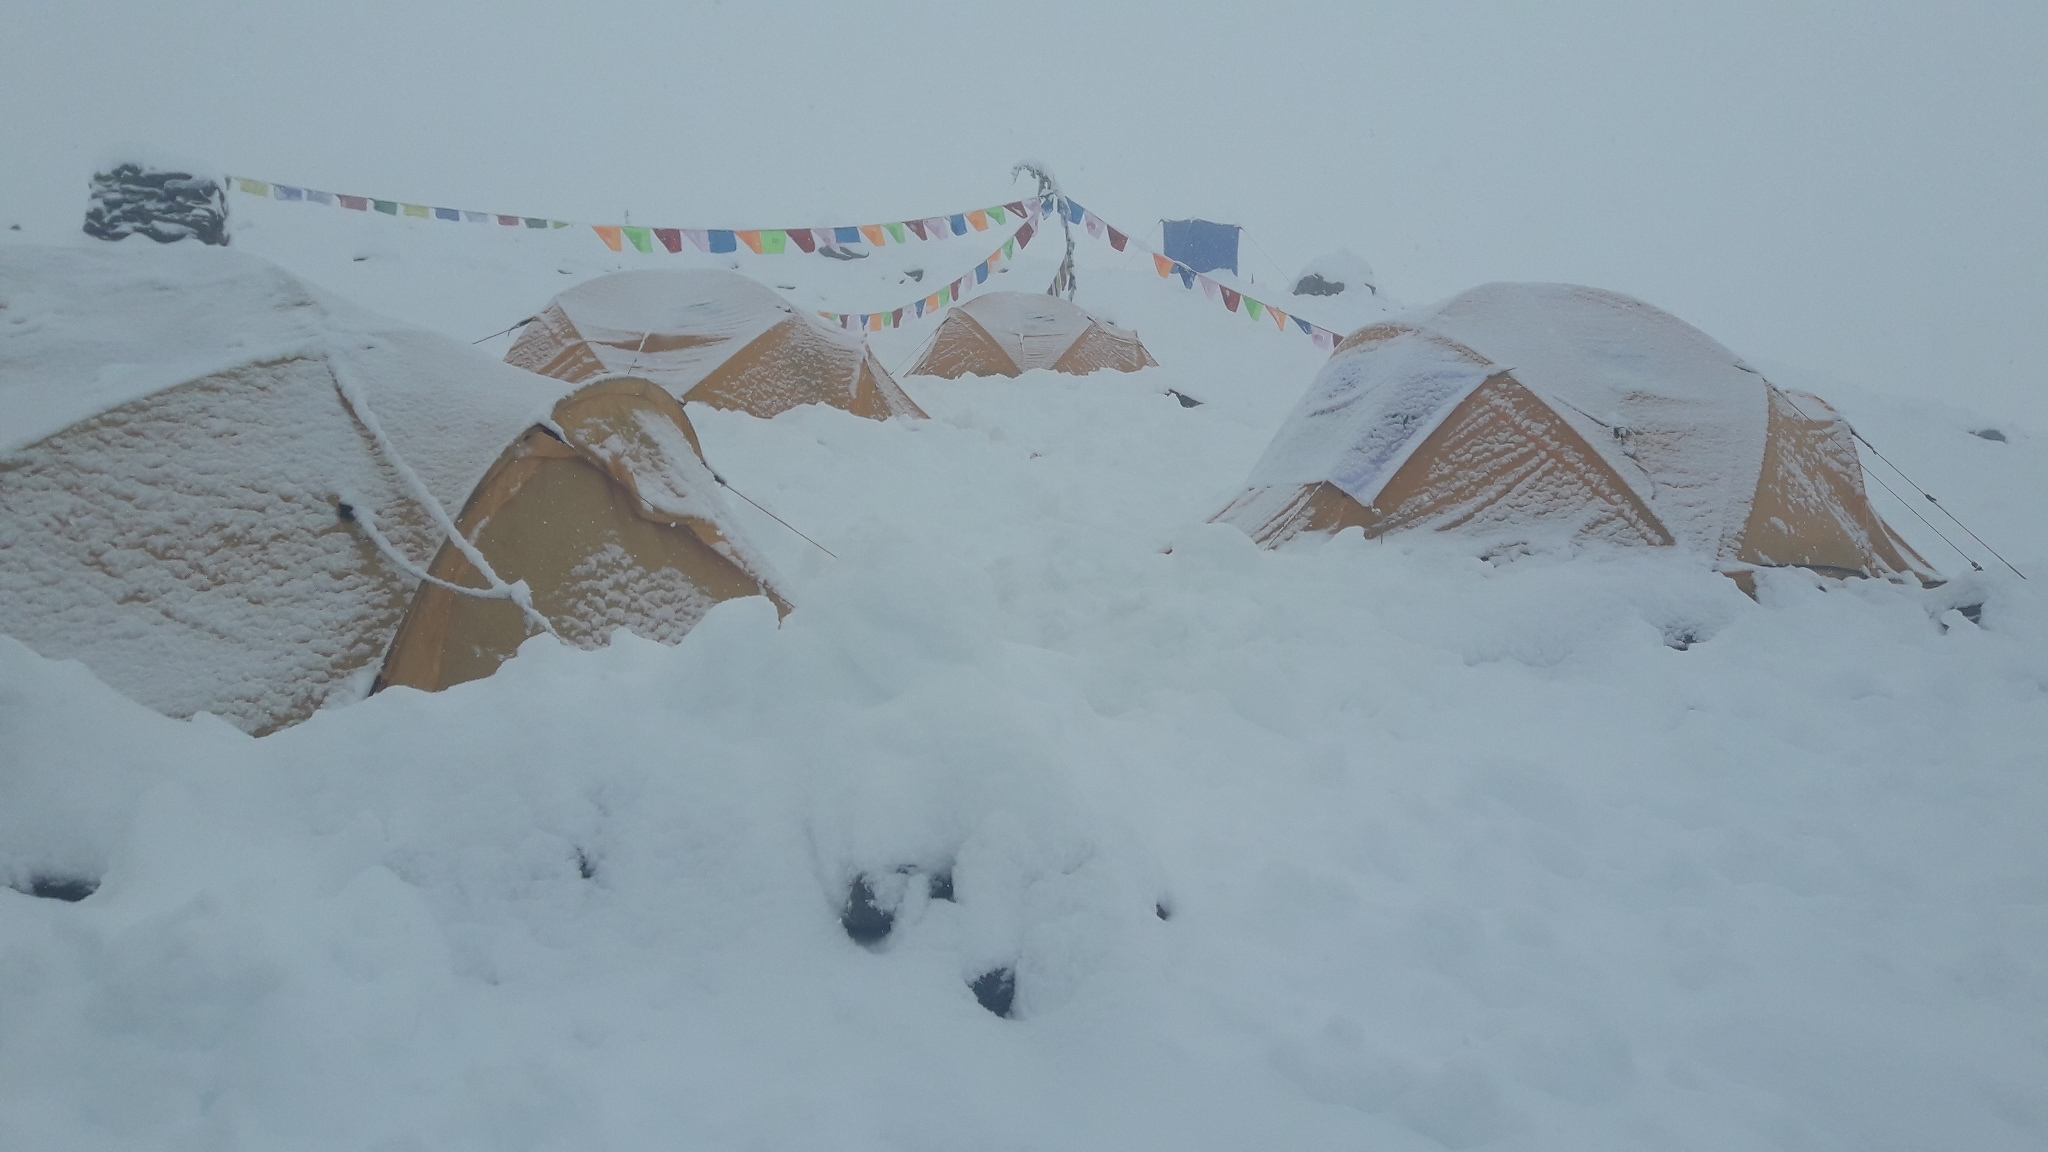
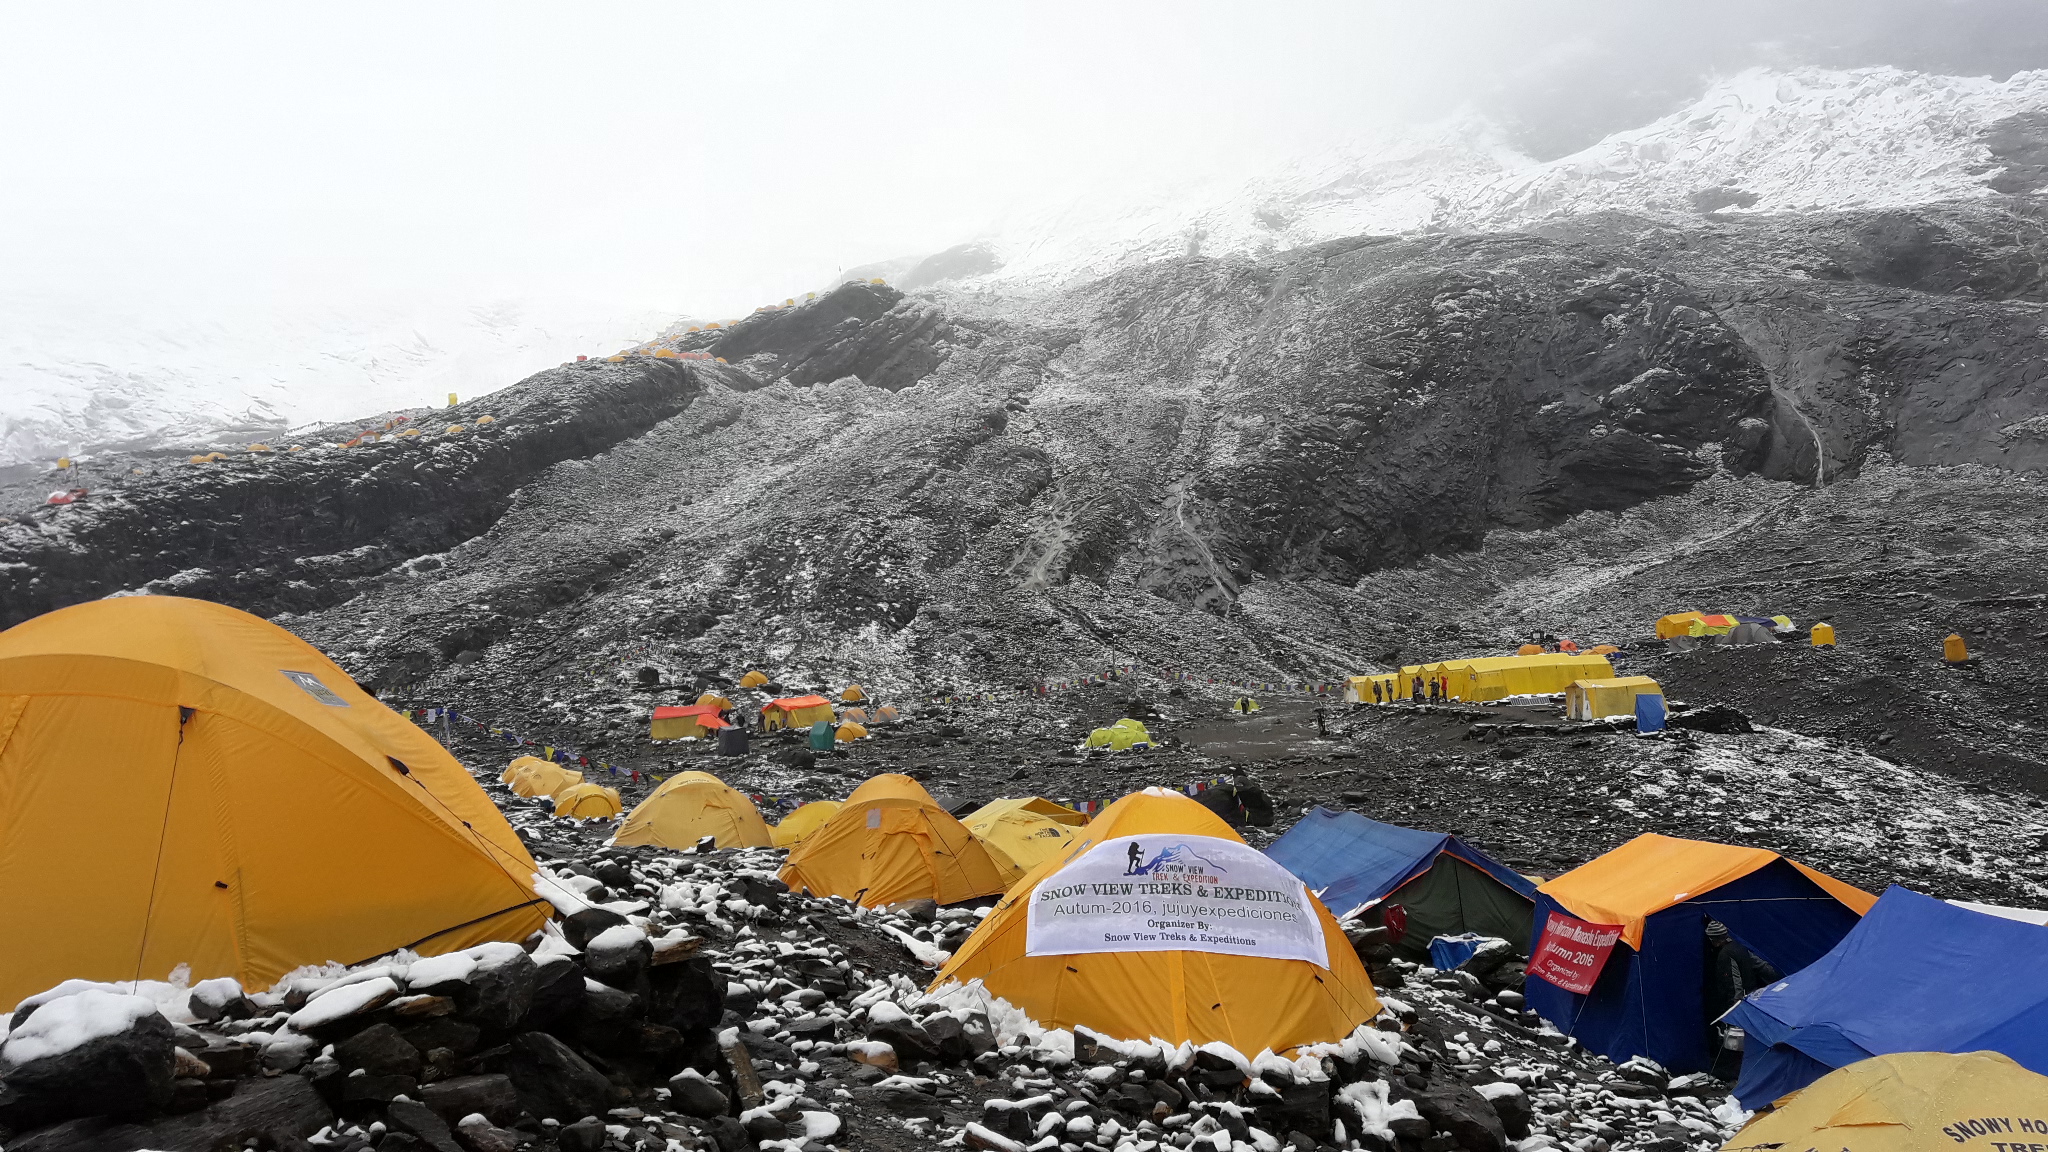
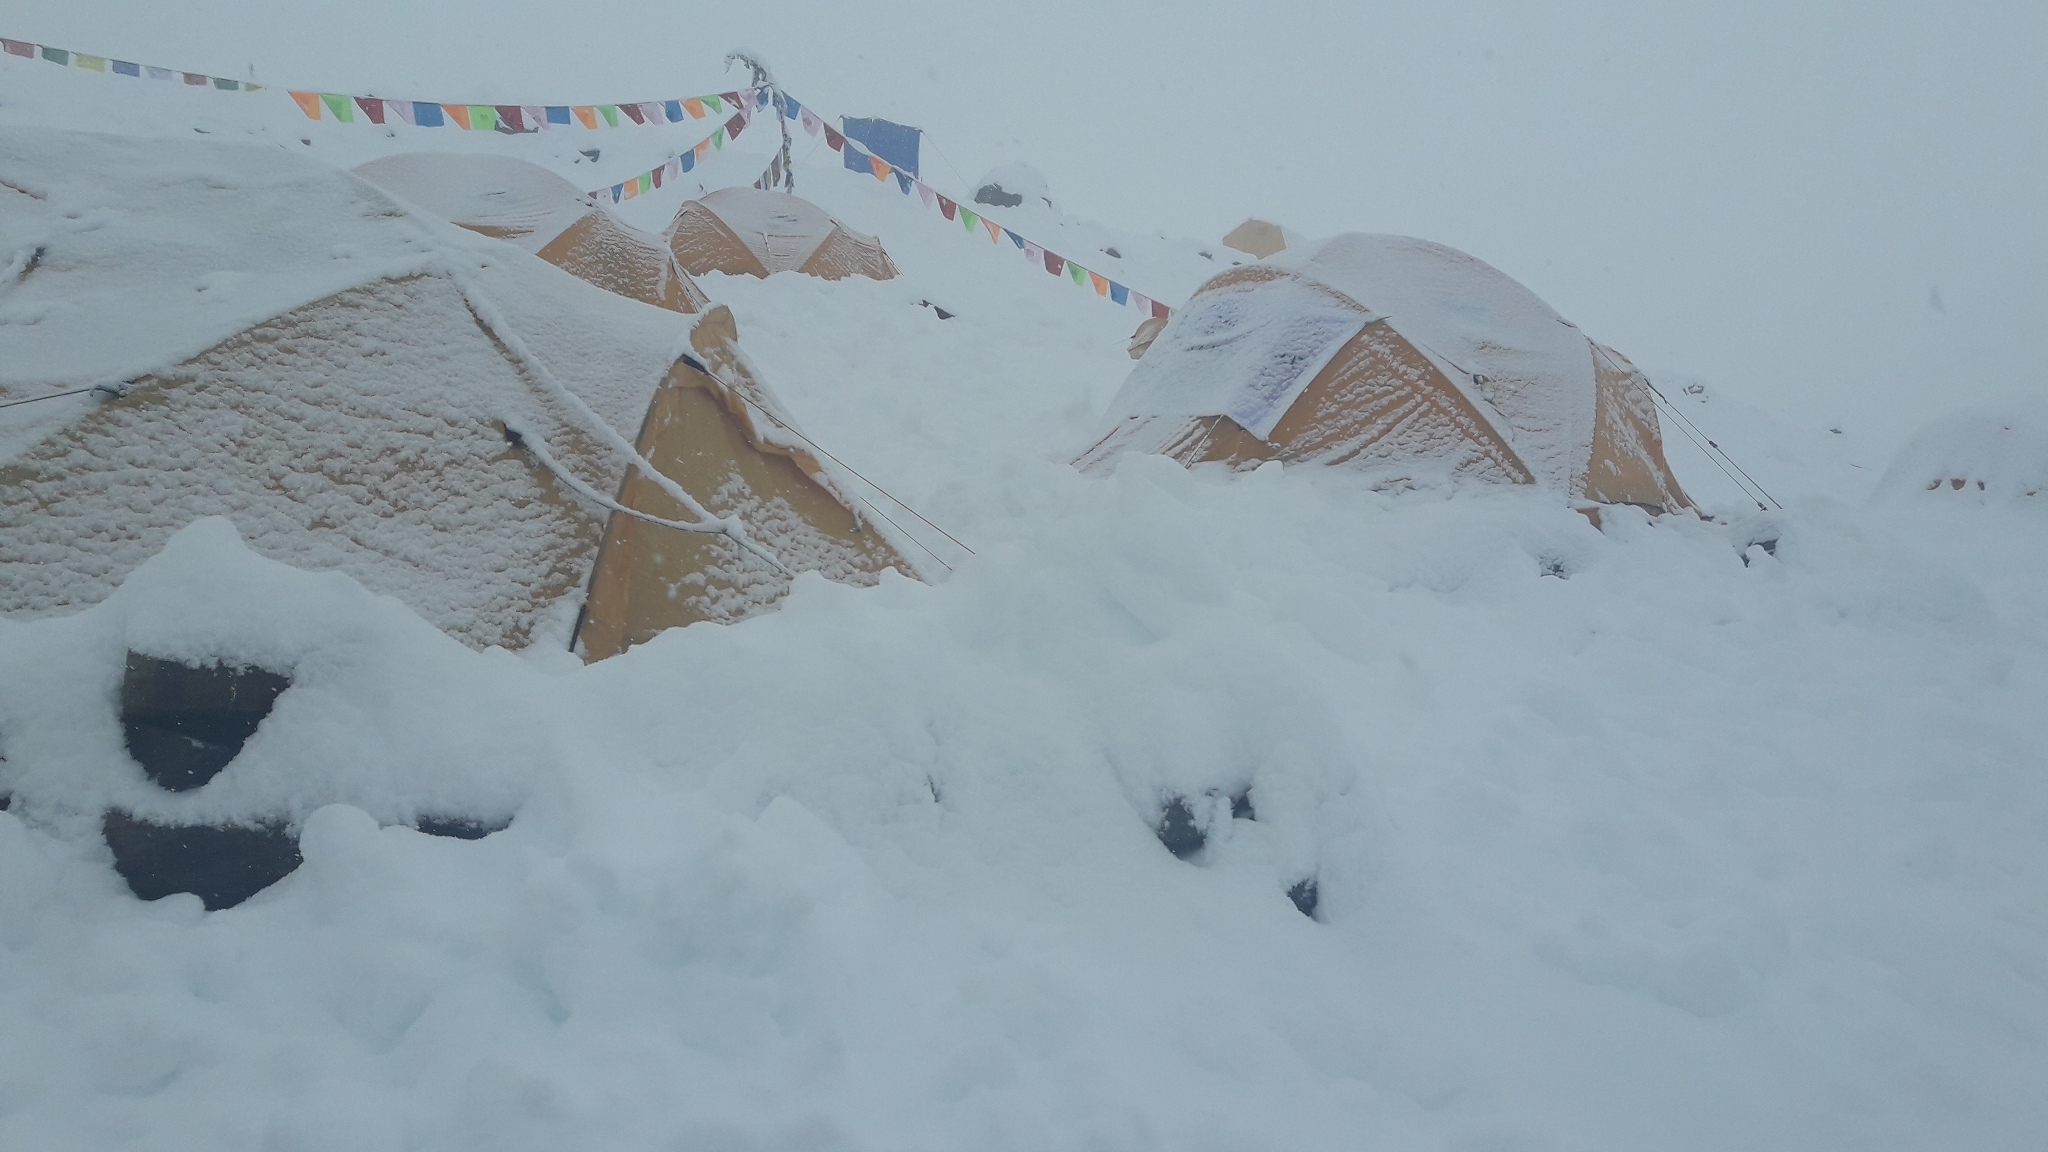
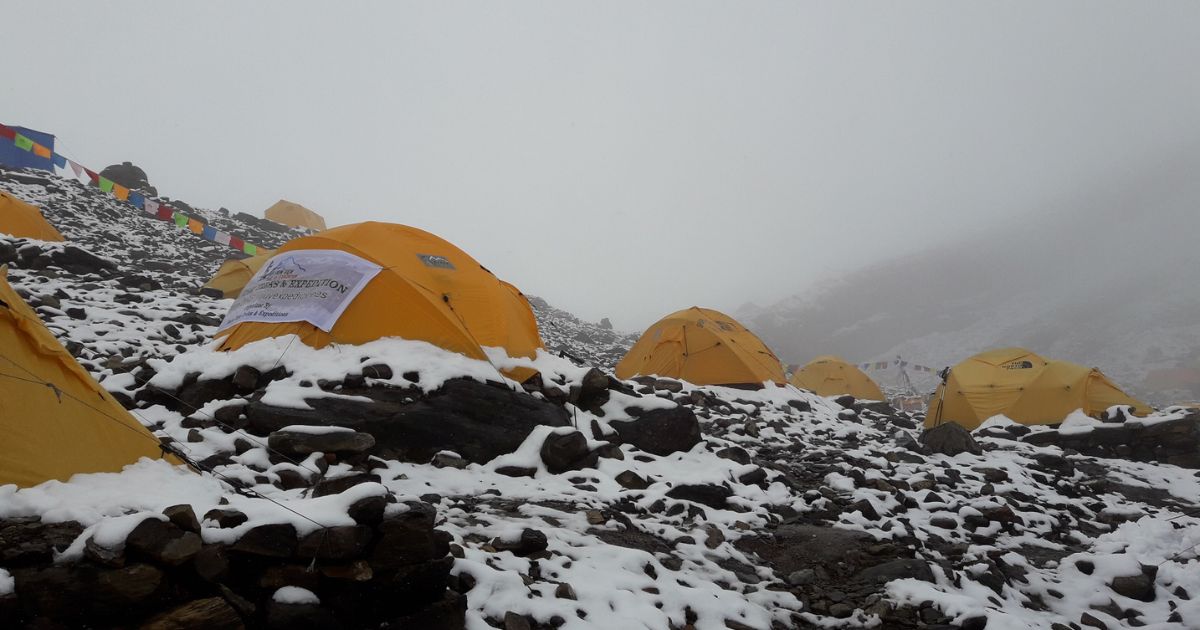
Manaslu Base Camp sits on rocky ground with huge views of the Mt Manaslu all around. This is where you spend a lot of time during the expedition, so for us it becomes like a small home in the mountains. When you arrive at base camp, everything is already set up for you. You will have your own sleeping tent, a warm dining tent to eat in, a kitchen, toilet tents, and sometimes even a basic shower tent so you can stay as comfortable and healthy as possible over many weeks.
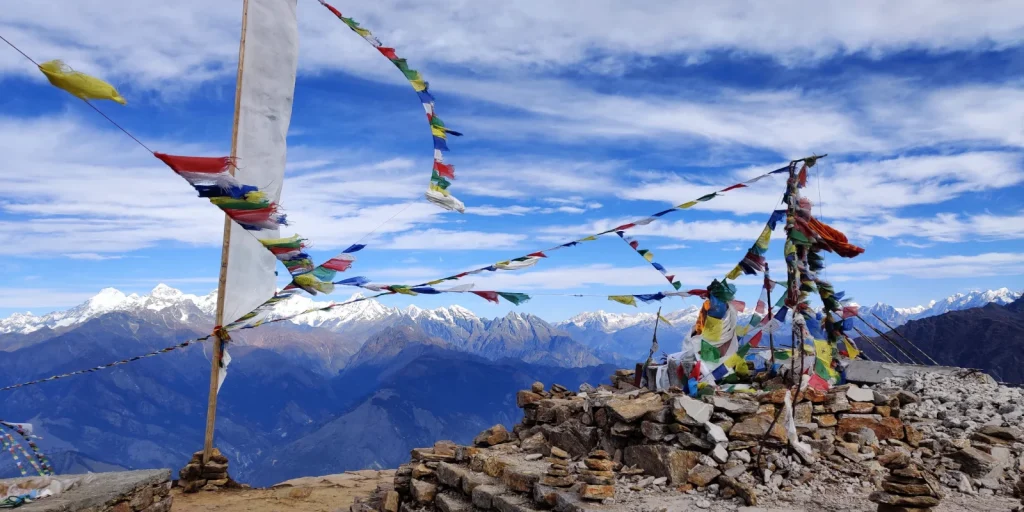
Soon after, we hold the traditional puja ceremony with our Sherpa team, asking the mountain for safe passage before we touch the route. From here, all the climbing rotations start and finish. After going up to higher camps, you come back here to rest, eat well, drink plenty of water, and recover before the next rotation.
Camp I (5,700m)
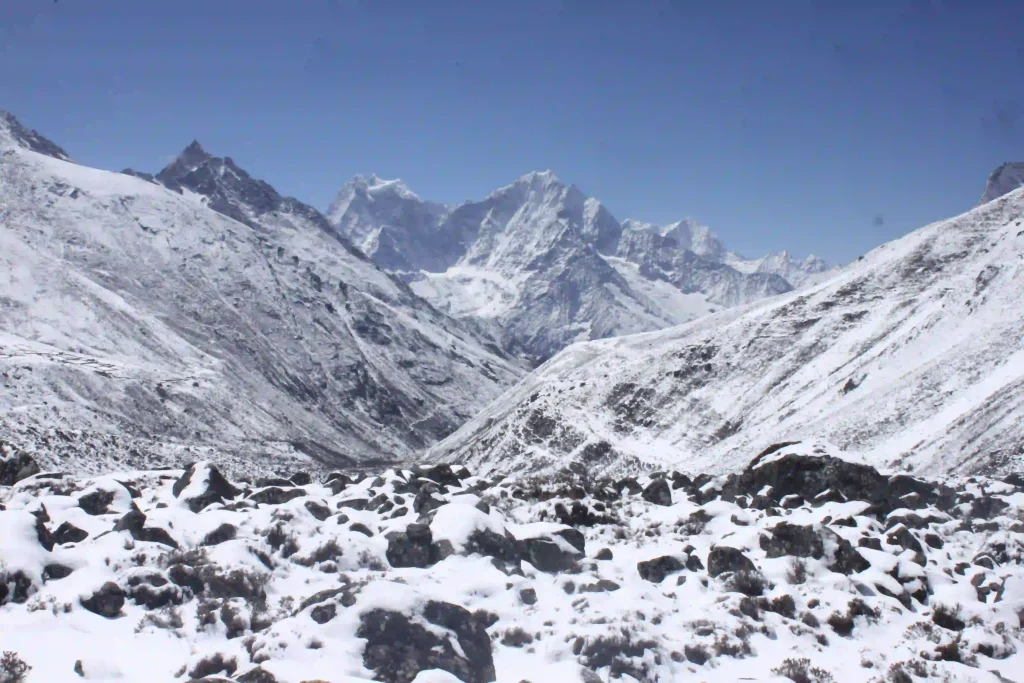
The climb to Camp I starts just above base camp. First, you walk for about an hour or so on grassy slopes and rocky ground. Then you reach a crampon point where you put on your climbing gear (crampons, harness, and helmet), and clip into the fixed rope. From there, you move onto the glacier. The route takes about three more hours, going around crevasses and crossing short icy sections. It’s not extremely steep, but you need to stay focused and move carefully.
Camp I sits on fairly flat glacier ground and is spread over two levels, a lower and an upper camp, about 100m apart in height. For many climbers, this is the first time sleeping higher up on the mountain. Nights are colder, the air is thinner, and you may hear the glacier moving around you. We usually use Camp I for acclimatization and as our launch point towards the more technical heart of the route.
Camp II (6,400m)
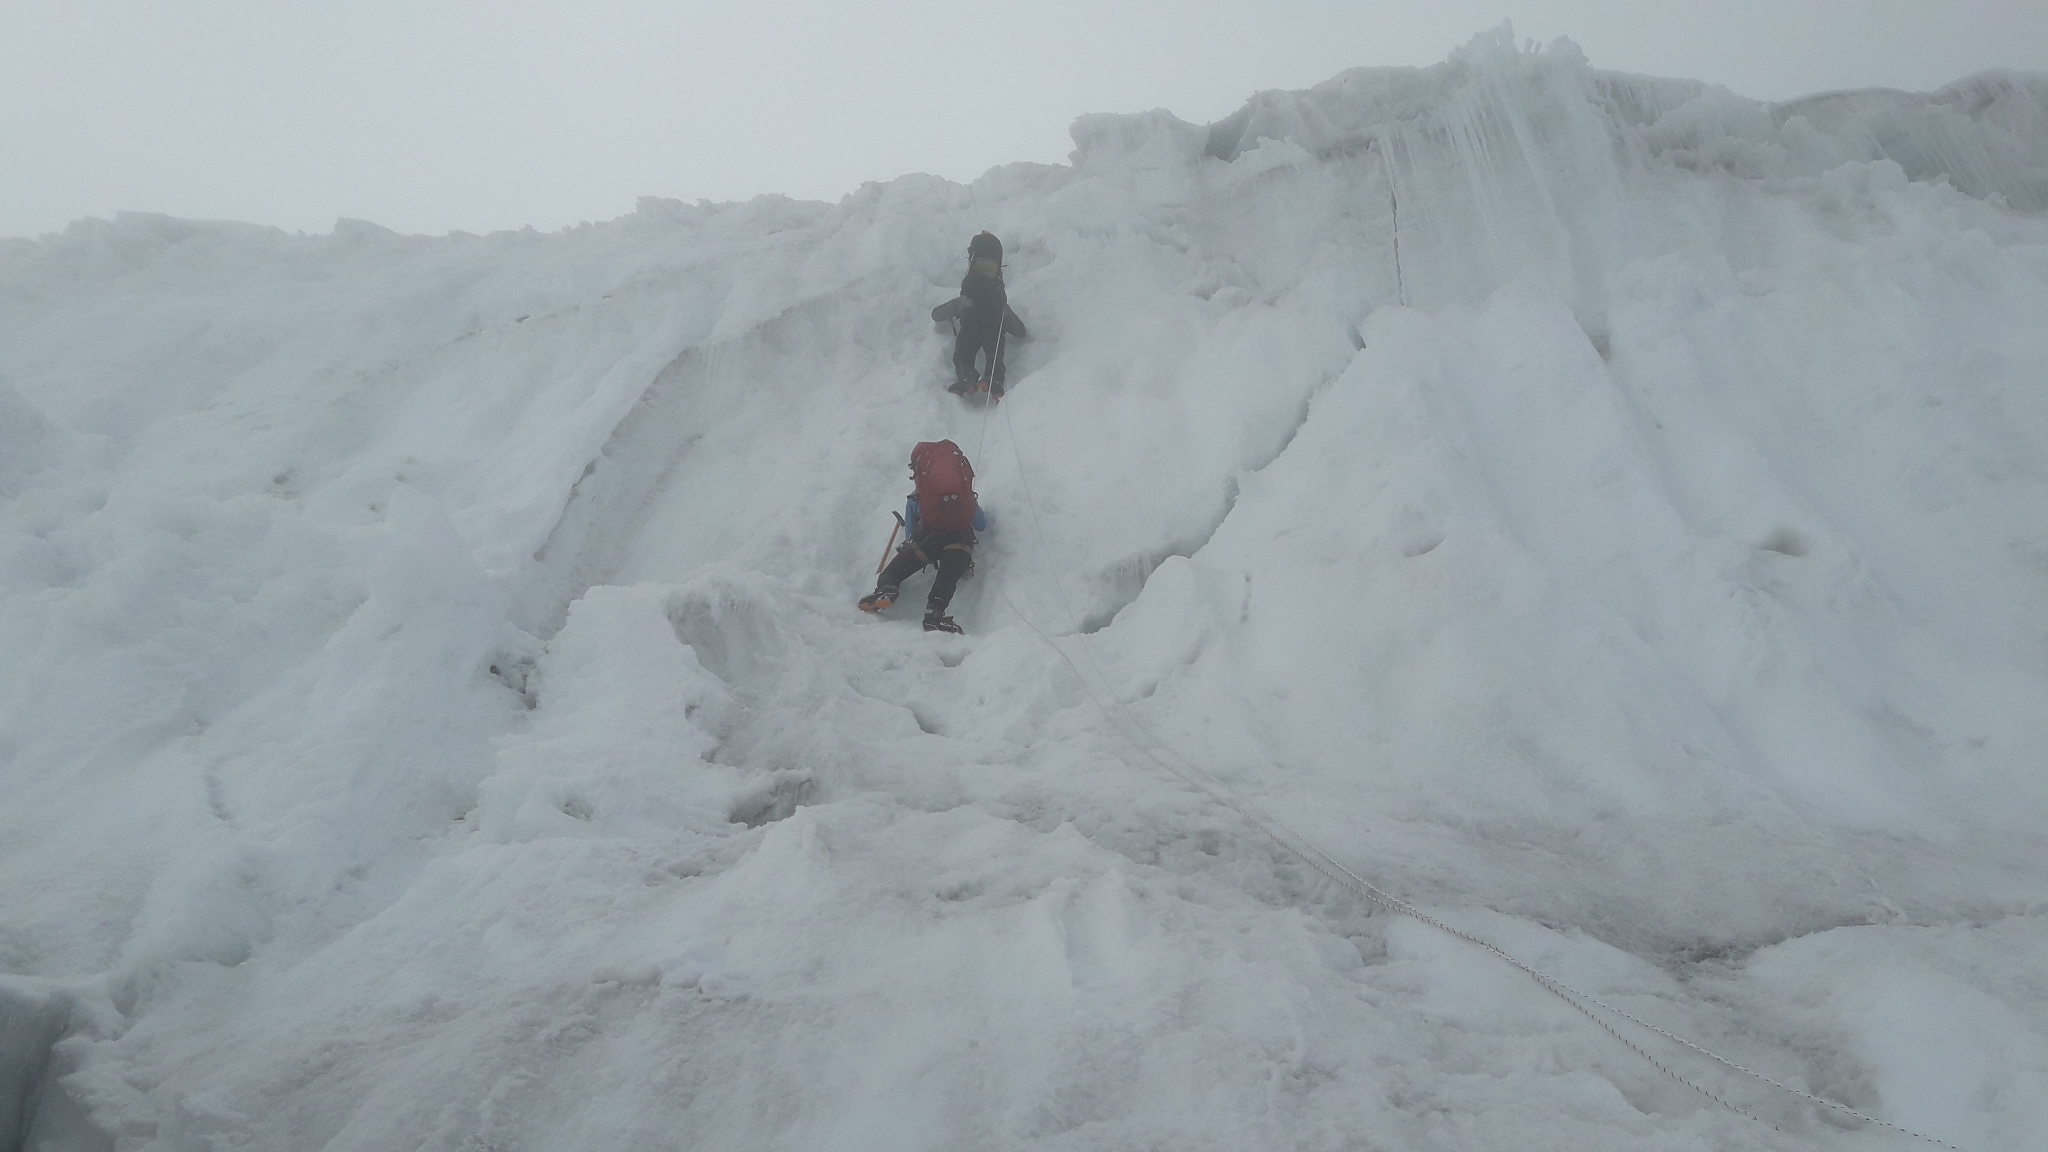
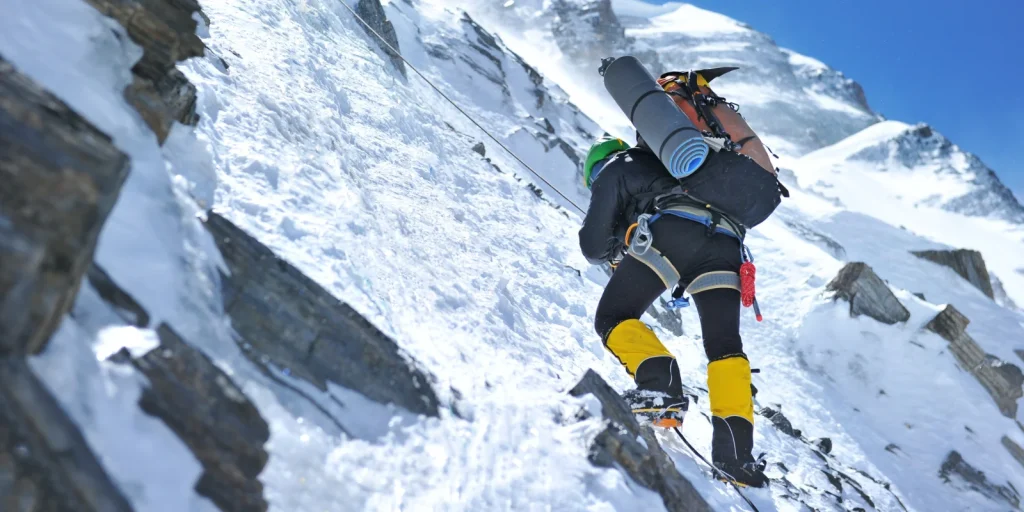
The climb from Camp I to Camp II is one of the most technical and demanding sections on Manaslu’s normal route. It starts off easy, with about an hour of walking on gentle snow slopes. But soon, you enter a more difficult area with broken ice, big blocks (seracs), and crevasses. In this section, you will use your jumar on fixed ropes almost the whole time. There are also a few ladder crossings over deep crevasses, which require focus and balance. Some ice pitches can reach around 60-65 degrees for short sections, so this is where good crampon work really matters.
Camp II is set on a wide, flat snow area above the icefall. It is safer than the lower section because it is more protected from falling ice. From a guide’s point of view, this is an important camp. It is high enough to be serious, but still a place where we can manage risks and keep an eye on the conditions higher up the mountain.
Camp III (6,800m)
The climb from Camp II to Camp III is shorter, but you start to feel the altitude more. The route continues up sustained snow slopes without big technical surprises. There are no major ladders here in a normal season, but you still cross crevasses and snow bridges, always clipped into the fixed rope for safety. Many climbers find this section easier in terms of skills, but it can still be tough. The area is very open, so strong winds and cold temperatures can make the climb harder. On clear days, the sun can also feel very strong at this height.
Camp III is set on a higher part of the mountain, usually on a small flat area cut into the slope. You don’t spend many nights here, but it is an important stop for acclimatization. It helps your body to adjust before you move into the real thin‑air zone above 7,000m.
Camp IV (7,500m)
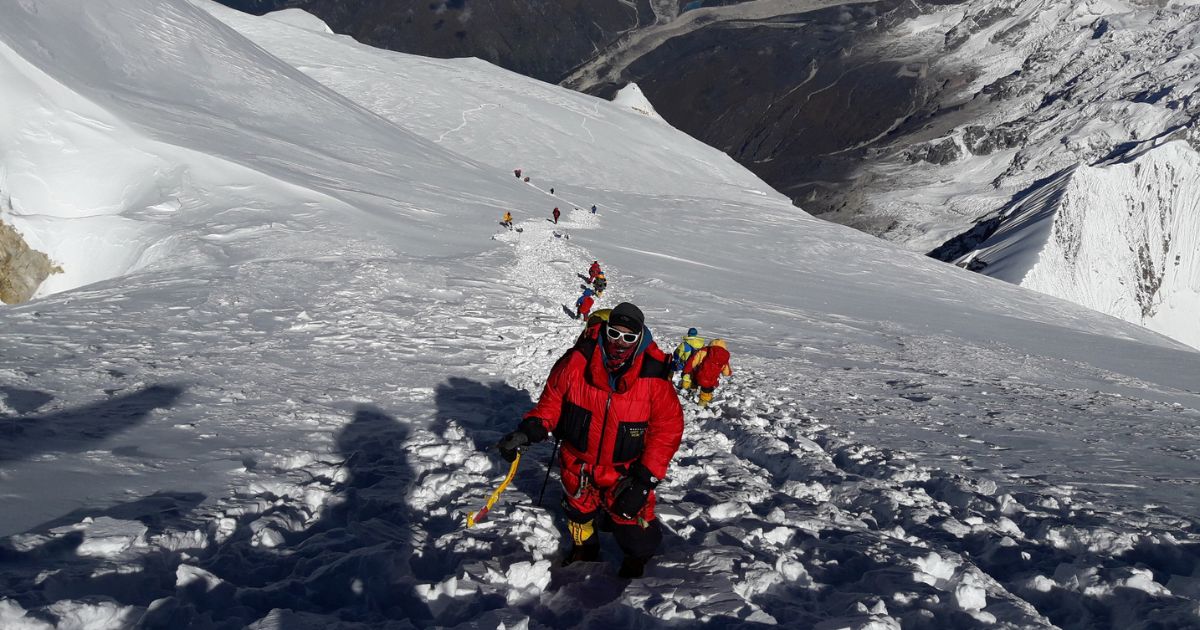
The climb from Camp III to Camp IV feels very long and tough, even though the distance is not huge. Oxygen is much lower now, and every step on the 50–55 degree snow slopes feels slow and demanding. This section also has more risk from avalanches, so we move carefully and stay clipped to the fixed rope at all times. We choose the right weather and snow conditions before moving through this area.
Camp IV is set high on the high shoulder or small plateau, just below the final summit slopes. Conditions here are very basic. There are small tents, very little space, and not much comfort because of the altitude. When you arrive, you melt snow for water, try to eat a little, rest for a few hours, and get ready for the summit push. Most climbers do not stay long at Camp IV. They usually leave at night or very early in the morning to begin their final climb to the summit.
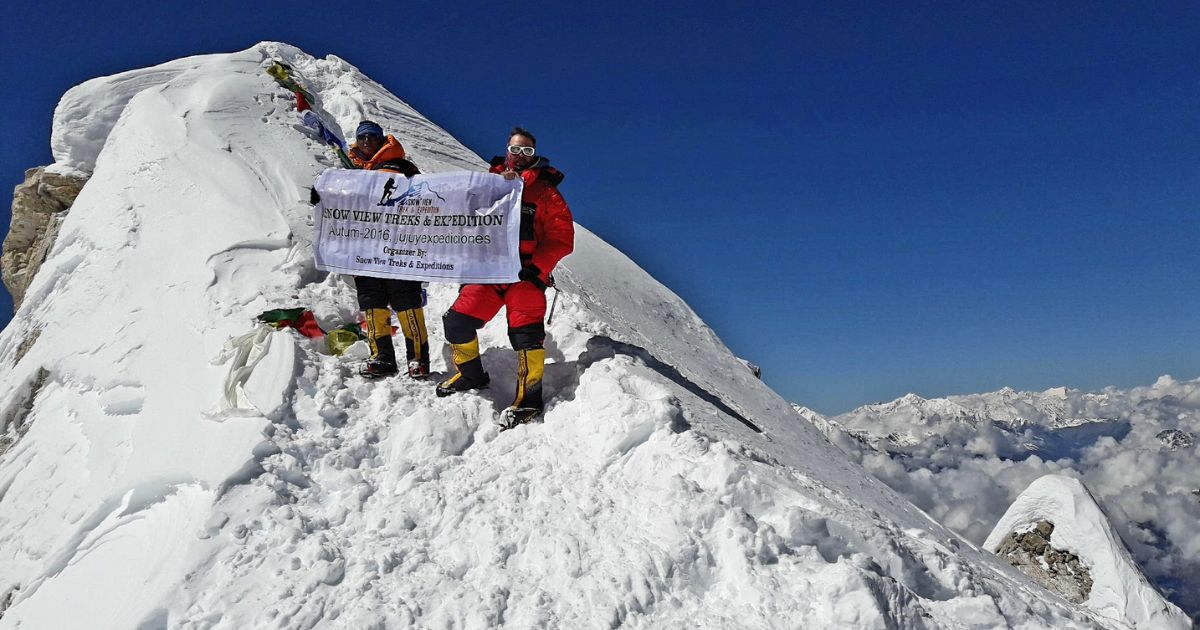
Summit Ridge – From False Summit to True Summit (8,163m)
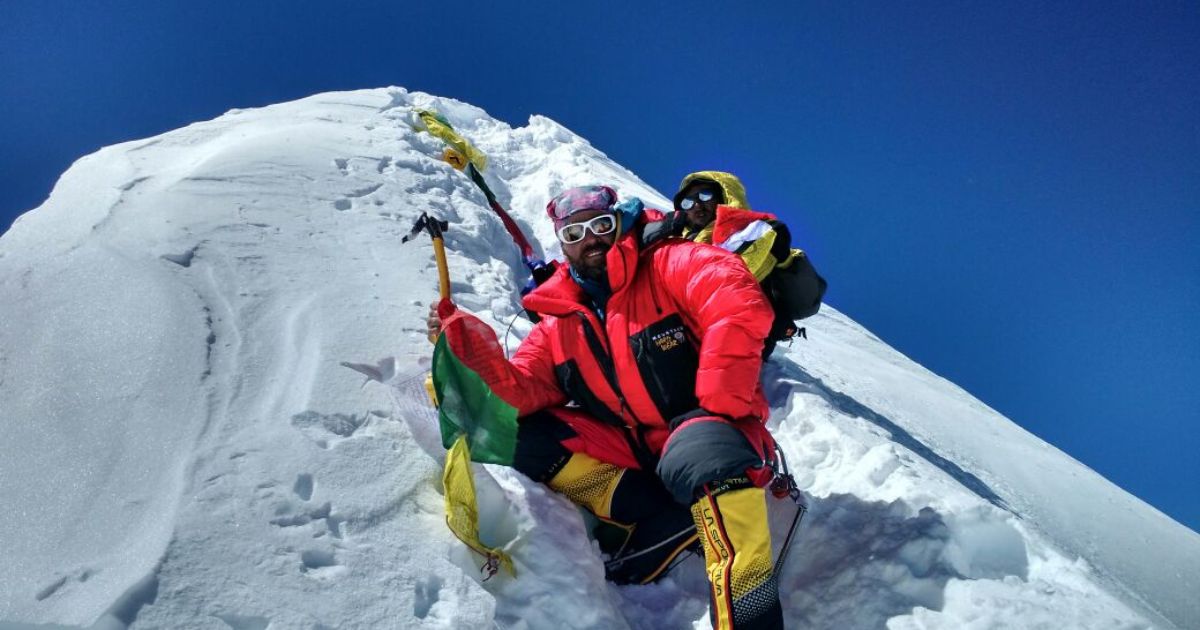
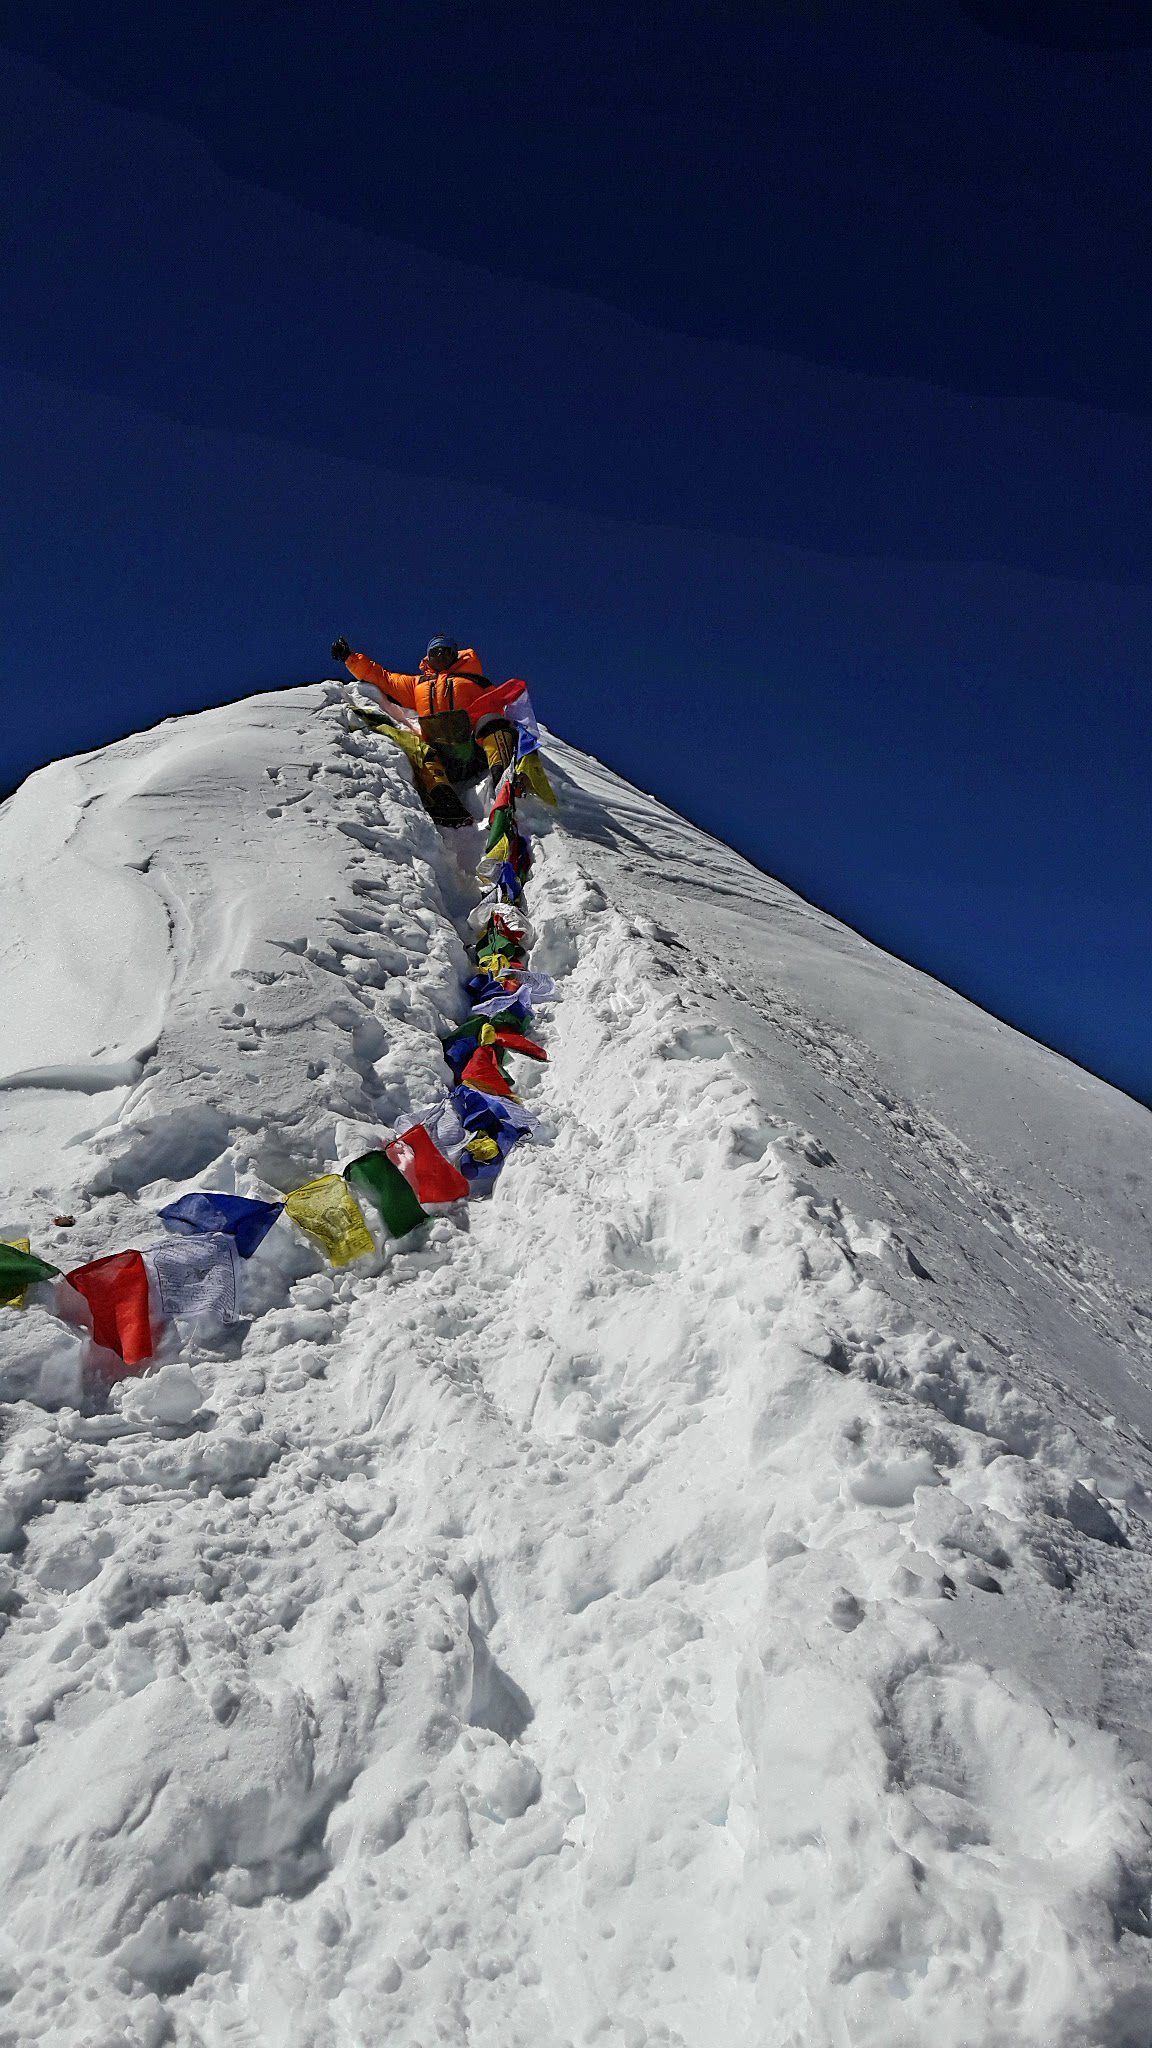
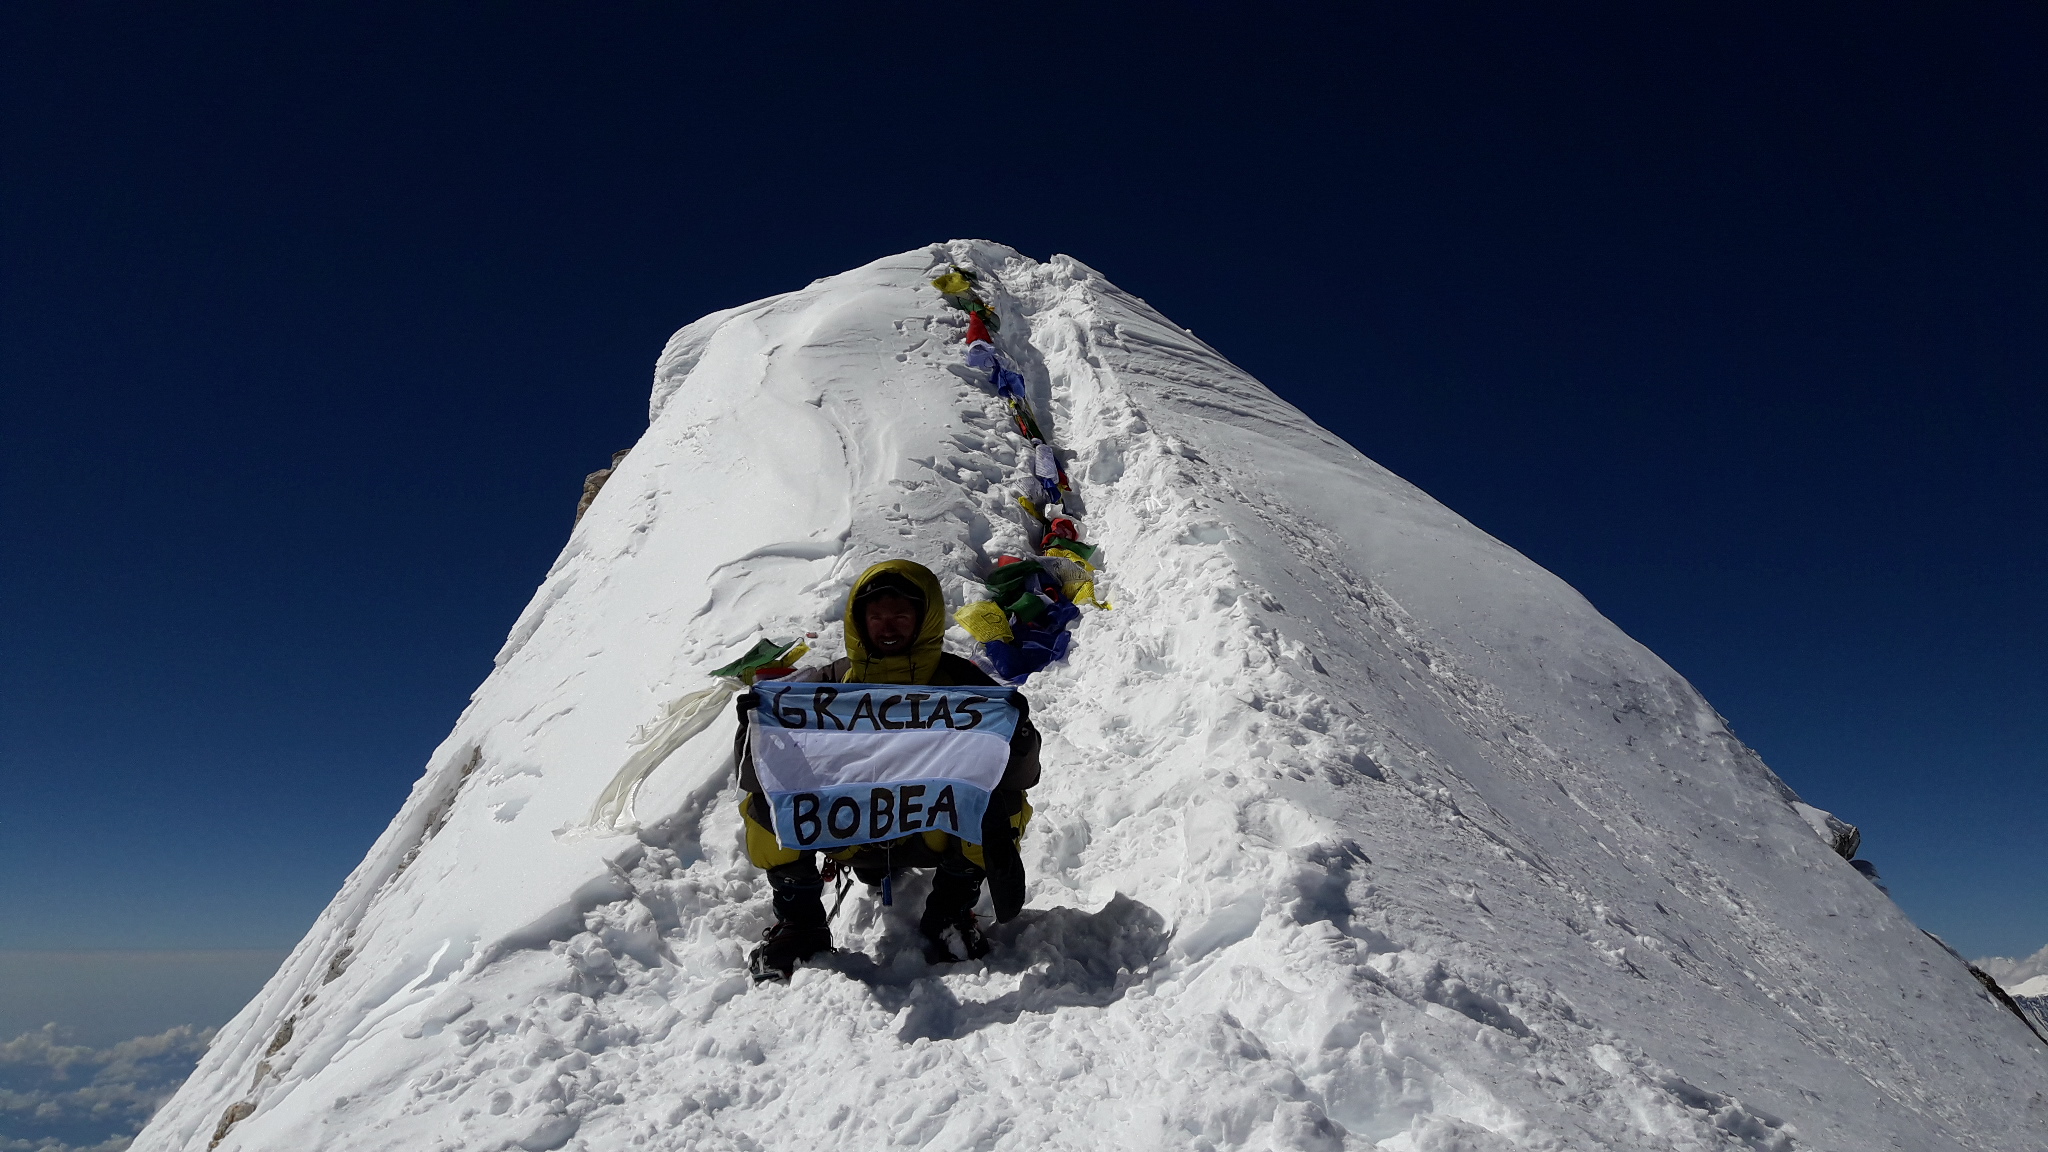
Summit day normally starts around 1 AM. from Camp IV. At first, you climb through a few snow basins and short steep sections. These parts are not very technical, but the altitude is extreme, so you must move slowly and carefully using a headlamp. After some time, you reach a high point called the fore-summit. In the past, many climbers stopped here because the next part is more exposed and challenging. But this is not the true highest point.
From the fore-summit, you continue along a narrow ridge toward the real summit of Manaslu. This ridge is often covered with cornices (overhanging snow) and drops steeply on both sides. When conditions are good, ropes are fixed along the route, and climbers move one by one, placing each step carefully.
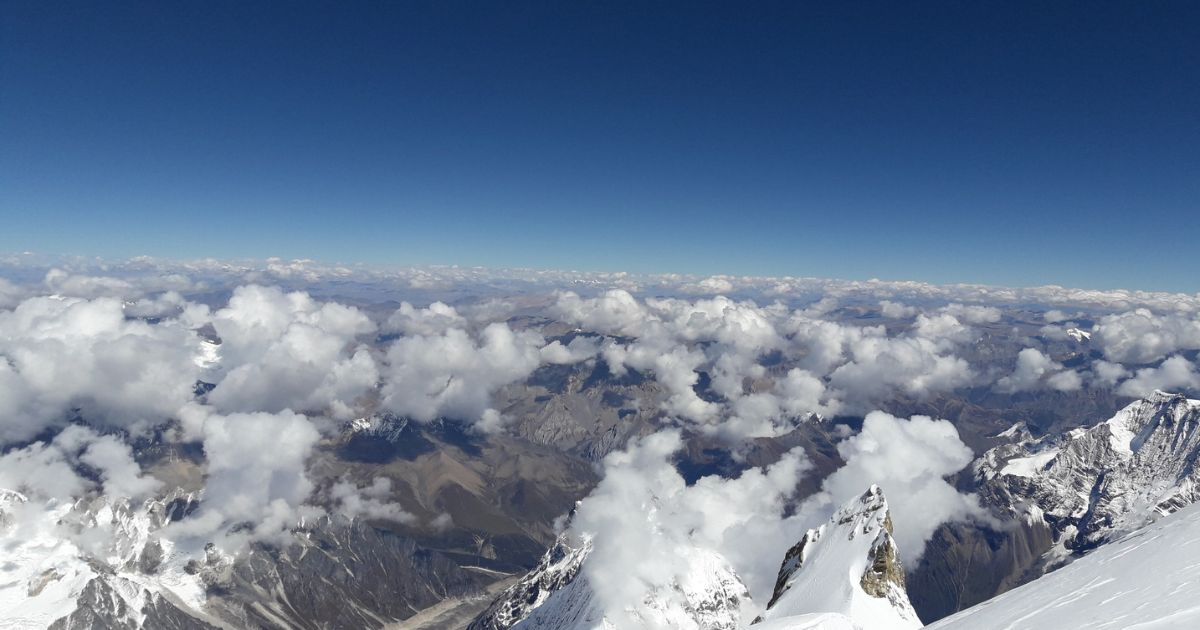
Even though the ridge is exposed, the views are incredible. On a clear day, you can see the Himalayas and the Tibetan plateau all around you. After reaching the true summit, climbers usually spend a short time taking photos and enjoying the moment. Then, the descent begins. You return the same way, going back to Camp IV, and often continue down to Camp III if you still have enough energy and daylight.
Approximate Time & Height Gain by Camp:
Base Camp → Camp I:
- Height gain: 900m ( 4,800m to 5,700m)
- Typical time: 4-5 hours, including moraine walk and glacier section
Camp I → Camp II:
- Height gain: 700m (5,700m to 6,400m)
- Typical time: 4-6 hours through the most technical icefall section.
Camp II → Camp III:
- Height gain: 400m (6,400m to 6,800m)
- Typical time: 2-3 hours on steady snow slopes with some crevasse crossings
Camp III → Camp IV:
- Height gain: 700m (6,800m to 7,500m)
- Typical time: 3-5 hours on sustained 5-–55° snow at a very high altitude.
Camp IV → Summit (8,163m) → back to Camp IV / Camp III:
- Height gain: about 700m up, then full descent back down
- Typical time: 12-16 hours total for summit push and descent to Camp IV/Camp III.


